Bolex H16 RX5
The RX5 first released in 1967 is for many 16mm afficionados the high point of the Bolex range, the last of the reflex C-mount turret series before single bayonet mount models arrived on the scene, which were designed to hold the heavier zooms that were all the rage at the time. But the zooms never matched the optical quality or speed of the C-mount Kern Switar primes, particularly the Macro-Switars pictured above. And with its flat base, triple lens turret and sleek magazine port like a Greek helmet all in tuxedo black leatherette and chrome, no other camera ever looked so handsome.
The following post documents the dismantling and servicing of one of these beauties, primarily for the curiosity of those interested in the procedure. It's not intended to be a guide for people hoping to do it themselves, because it requires certain tools and years of accumulated knowledge that are beyond most non-professionals. If your Bolex needs a service, take it to a professional!

Having thoroughly tested the camera to ascertain what may be out of tolerance, the first step is to remove the viewfinder. The next step is to remove the front. This loses the shutter to pull-down synchronisation, which must be reset during reassembly. It also breaks the light seal.
On reflex cameras the shutter assembly remains in the front, as opposed to non-reflex models. This makes removing a reflex front a considerably easier prospect than removing a non-reflex one.
After removing all the knobs and levers on the control side that are necessary, the entire mechanism can now be removed. The light seal is now completely broken.
The mechanism removed. The speed governor, release mechanism and claw drive gear are visible at the front.
After disengaging the spring limit gearing and winding the spring all the way down, the upper and lower plates can be separated.

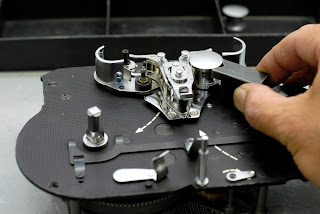
A close up of the upper plate.
Both plates with the motor removed.
Complete disassembly of the gears, spindles and drive belts.

After ultrasonic bath cleaning.

The mechanism reassembled after lubrication, and play tolerances checked.

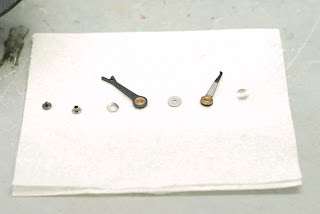
The claw assembly after ultrasonic cleaning. Claws are checked for wear and replaced if necessary.
Setting the sprocket height with a gauge. Later the rotational position will be set for optimal loop forming.

The mechanism is now fitted back into the body.
If necessary, focal flange depth adjustment and reflex prism alignments are done to the front before fitting. Also any work required on the variable shutter mechanism or viewfinder prism. The gate is cleaned, and if it has been removed, reset with a jig. Shutter/pulldown sychronisation is set when the front is fitted.

Having lubricated and fitted the claw assembly, the forward and reverse claw torques are measured. If they are out of tolerance, new spring washers are fitted.
Using a gate jig, the claws are checked for alignment and adjusted if necessary. The sprockets are adjusted rotationally for smooth loop forming.

The light seal is reapplied.
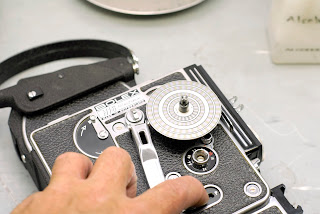
Various speeds can be checked with Bolex stroboscopic discs fitted to the 8:1 driveshaft.

As they spin, an upper and lower tolerance band seem to spin in opposite directions if the speed is within tolerance. They work off the 50 Hz frequency of electrical lighting, much like old record player speed displays.

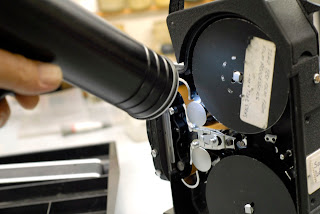
A more accurate technique is to use a strobe gun that can be set to three decimal places of a pulse rate per second, which I use for modern film cameras but is a bit of an overkill on spring-powered Bolexes. But it shows me that they are very stable for at least the first 15 or 20 seconds. This one slowed down considerably after about 15 seconds before service, now it maintains 24fps (within 0.3 fps) up until the last few seconds.

The take-up torque is checked.

Using a Bolex RX test lens designed to check infinity incorporating the prism in the light path, the camera focal flange depth is double-checked on a bench collimator.

After a final scratch test with fresh film, where film is run through the camera and checked for scratches using a loupe, the camera service is complete.


